A) WorldPay Credentials
B) Setting Up and Testing the WorldPay Gateway
1.Log in to WordPress Admin:
Open your web browser and navigate to your WordPress admin dashboard. Typically, you can access it by adding “/wp-admin” to your domain name (e.g., `http://yourdomain.com/wp-admin`).
2. Navigate to the Plugins Section:
Once you’re logged in, you’ll be in the WordPress admin dashboard. Look for the “Plugins” option in the left-hand menu. Hover over it, and a submenu will appear.
3. Click on “Add New”:
In the submenu under “Plugins,” click on the “Add New” option. This will take you to the “Add Plugins” page.
4. Upload the Plugin:
On the “Add Plugins” page, you’ll see a few tabs at the top. Click on the “Upload Plugin” tab.
5. Choose the Plugin ZIP File:
You should see a button labeled “Choose File” or “Browse.” Click this button to open a file browser dialog. Navigate to the location on your computer where you have the “worldpay-checkout-payment-gateway-woocmmerce” plugin ZIP file. Select the ZIP file and click “Open.”
6. Install the Plugin:
After selecting the plugin ZIP file, click the “Install Now” button. WordPress will start uploading and installing the plugin.
7. Activate the Plugin:
Once the plugin is installed, you’ll see a success message. You can now click the “Activate Plugin” button to activate the plugin on your website.
That’s it! You’ve successfully uploaded and activated the “WorldPay Checkout Payment Gateway for WooCommerce” plugin on your WordPress website using the admin dashboard. Remember to keep your plugins updated and ensure they are compatible with your WordPress version to maintain a secure and functional website.
2. How to configure Plugin
- In the left-hand menu of your WordPress admin dashboard, locate and click on “WooCommerce -> Settings.” This action will navigate you to the WooCommerce settings page.
- Click on the “Payments” tab located at the top of the settings page. Here, you will see a list of available payment gateways supported by WooCommerce.
- Find and select “WorldPay” from the list of payment gateways. Click on either “Finish Setup” or “Manage,” depending on your current setup status.
- You will be redirected to the configuration page specific to WorldPay payment gateway settings.
- On this configuration page, you can manage the following settings:
- Title: Enter the title for the WorldPay payment gateway that will be displayed to customers during checkout.
- Description: Provide a brief description or instructions about using WorldPay for payments.
- WorldPay Installation ID: Enter your WorldPay Installation ID. (Refer to the next steps for guidance on creating an Installation ID if you haven’t already.)
- Mode: Select between “Live” and “Test” mode based on whether you want to process real transactions or test transactions.
- Enable/Disable: Optionally, enable or disable the payment gateway based on cart total by specifying minimum and maximum price values.
- After configuring the settings according to your requirements, click on “Save Changes” to apply the changes made to the WorldPay payment gateway settings.
3. WorldPay Credentials
To enable WorldPay as a payment method on your website, you must first register for a WorldPay account(https://www.worldpay.com/ ). This account provides you with essential credentials necessary for processing payments through WorldPay.
To successfully process payments using your WorldPay Merchant account, you will require the following credentials:
- WorldPay Installation ID: This unique identifier is provided by WorldPay and is essential for integrating WorldPay with your website’s payment system.
Without these credentials, specifically the Installation ID, you will not be able to process live payments through WorldPay on your website.
It is crucial to ensure that you have obtained and correctly entered these credentials into your website’s payment gateway settings to facilitate seamless transactions for your customers.
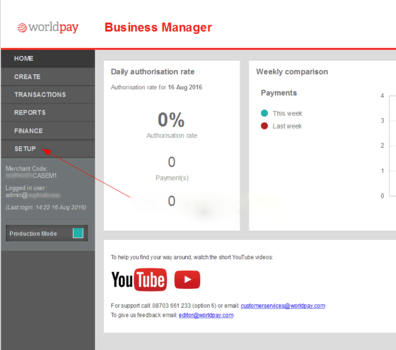
WorldPay Login URL:
Click on Setup menu from left side. Please check below screenshot.
Here you will see the list of the Installations available for your account. Click on the Settings Icon under Integration Setup: TEST, Same way you can do for production
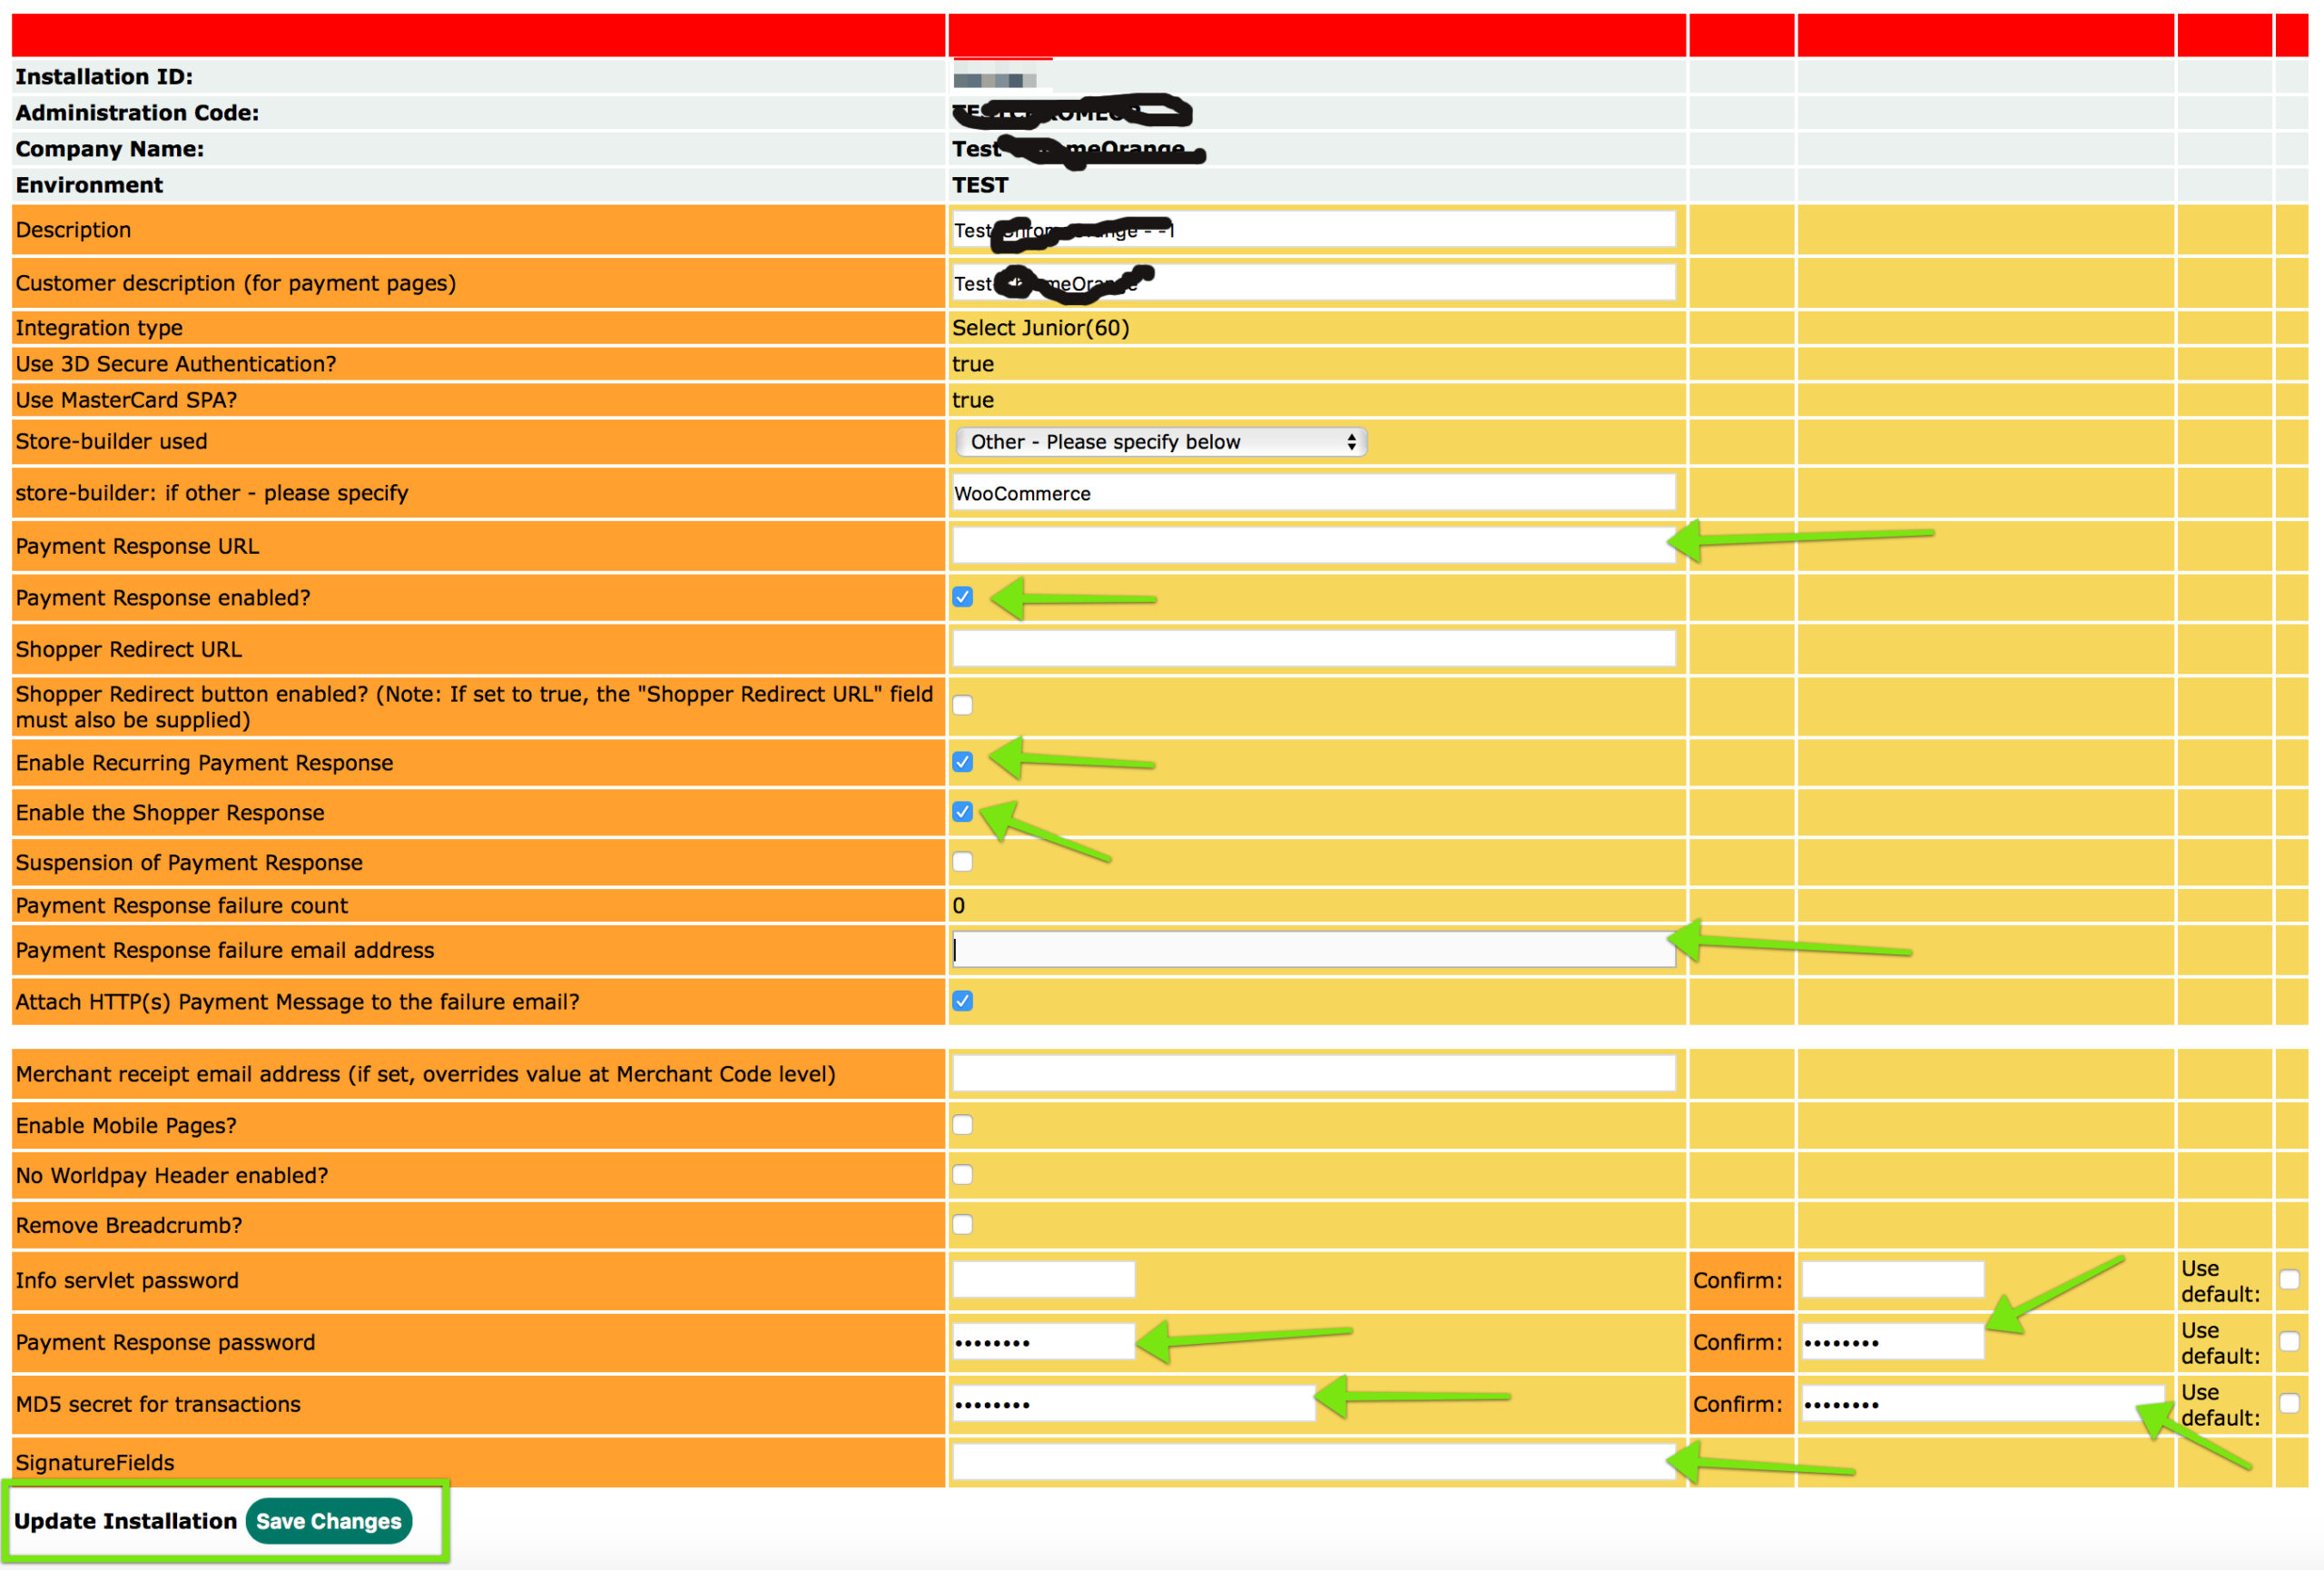
Next, follow the steps below to configure your WorldPay settings (Please check above screenshot):
1) Payment Response URL:
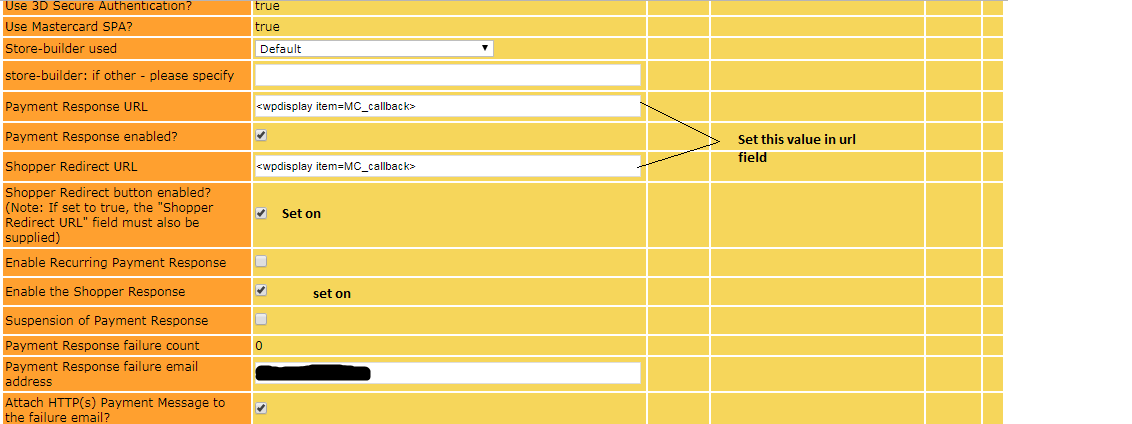
Enter <wpdisplay item=MC_callback> in the field provided.
2) Payment Response Enable:
Check the checkbox to enable payment responses.
Payment Response Failure Email Address:
3) Enter your email address. You will receive notifications if there are issues with orders.
Payment Response Password:
4) Set a password for validation of responses. Ensure it matches the setting in your site’s configuration.
MD5 Secret for Transaction:
5) Add an MD5 secret to enhance security against fraudulent transactions. Ensure it matches your site’s settings.
Next, proceed with the steps to add necessary files for successful redirection back to your site based on order status:
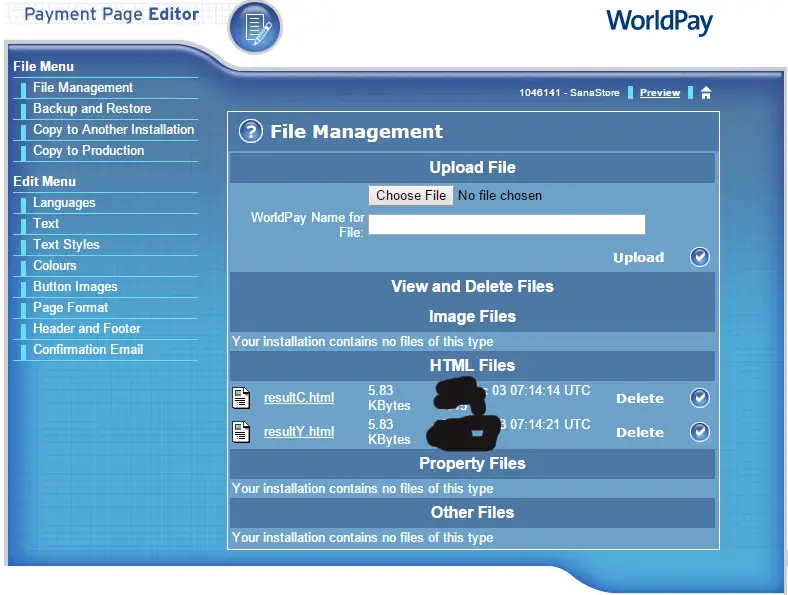
Navigate to the Installations Page and click on “Edit Payment Pages” under Payment Page Editor.
On the Payment Page Editor screen, select “File Management”.
Upload the following files:
resultY.html
resultC.html
(You can download these HTML files Download
If you have any questions/issues in setup, Please email us on: wpthemestoreuk24@gmail.com
We will help you to setup WorldPay for your website.