1. Log in to WordPress Admin:
Open your web browser and navigate to your WordPress admin dashboard. Typically, you can access it by
adding “/wp-admin” to your domain name (e.g., `http://yourdomain.com/wp-admin`).
2. Navigate to the Plugins Section:
Once you’re logged in, you’ll be in the WordPress admin dashboard. Look for the “Plugins” option in the
left-hand menu. Hover over it, and a submenu will appear.
3. Click on “Add New”:
In the submenu under “Plugins,” click on the “Add New” option. This will take you to the “Add Plugins”
page.
4. Upload the Plugin:
On the “Add Plugins” page, you’ll see a few tabs at the top. Click on the “Upload Plugin” tab.
5. Choose the Plugin ZIP File:
You should see a button labeled “Choose File” or “Browse.” Click this button to open a file browser dialog.
Navigate to the location on your computer where you have the “wpag-gallery” plugin ZIP file. Select the ZIP
file and click “Open.”
6. Install the Plugin:
After selecting the plugin ZIP file, click the “Install Now” button. WordPress will start uploading and
installing the plugin.
7. Activate the Plugin:
Once the plugin is installed, you’ll see a success message. You can now click the “Activate Plugin” button to
activate the plugin on your website.
That’s it! You’ve successfully uploaded and activated the “WP Awesome Gallery” plugin on your WordPress
website using the admin dashboard. Remember to keep your plugins updated and ensure they are
compatible with your WordPress version to maintain a secure and functional website.
2. How to configure Plugin
Log in to WordPress
Admin:
Start by logging in to your WordPress admin dashboard.
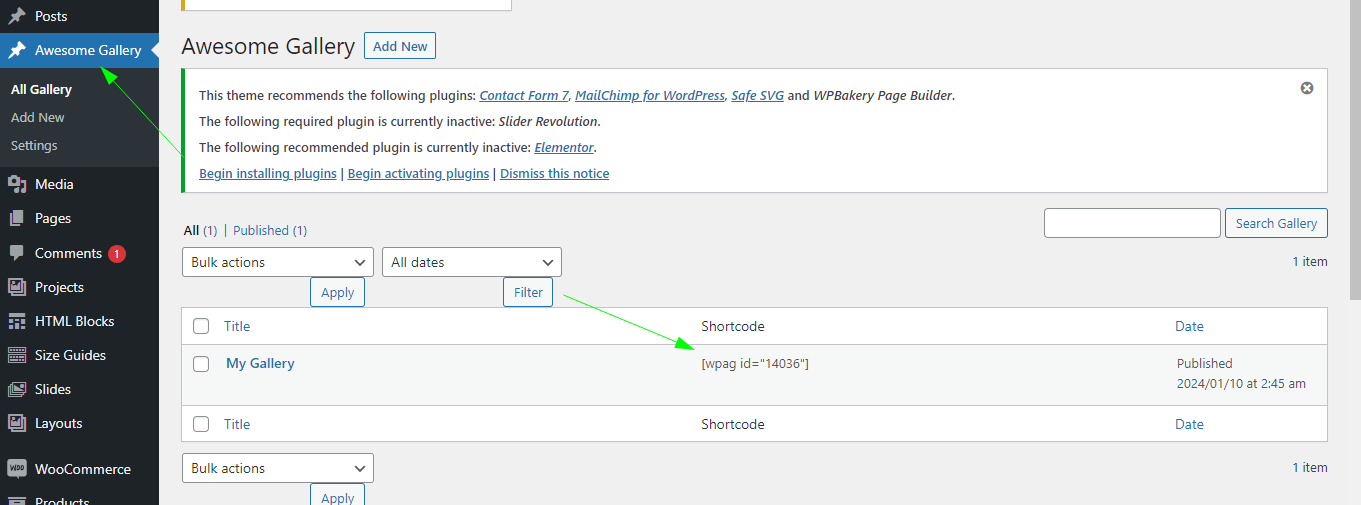
Navigate to Awesome Gallery:
In the left-hand menu, locate and click on “Awesome Gallery-> Add new.” This will take you to the create new
gallery page.
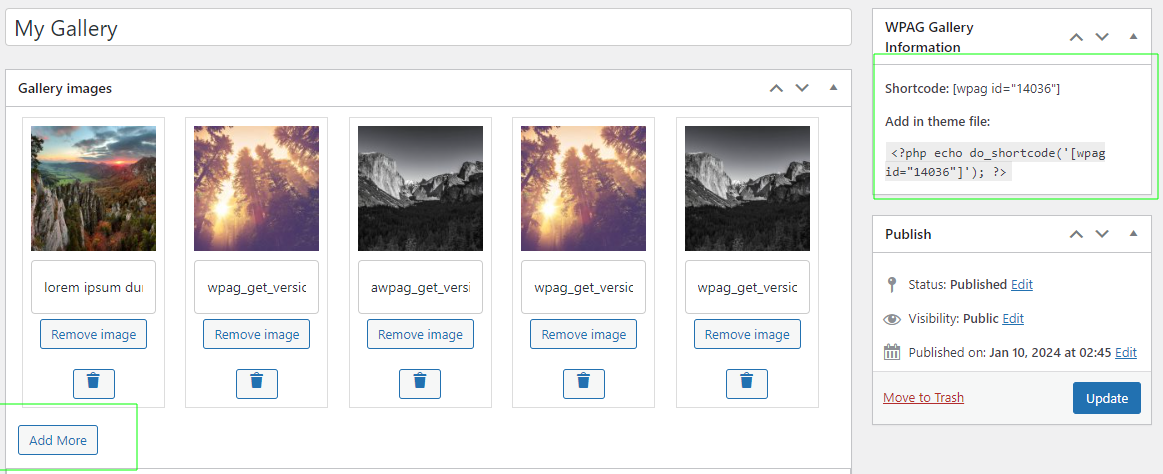
Add new gallery:
You can create multiple galleries by clicking on “Add New.” Add images and configure settings as needed.
Short code:
Find the shortcode in the right-side box. You can add the shortcode to any pages or posts. If you want to add
it to any PHP file, copy the PHP shortcode and paste it into PHP files/templates.
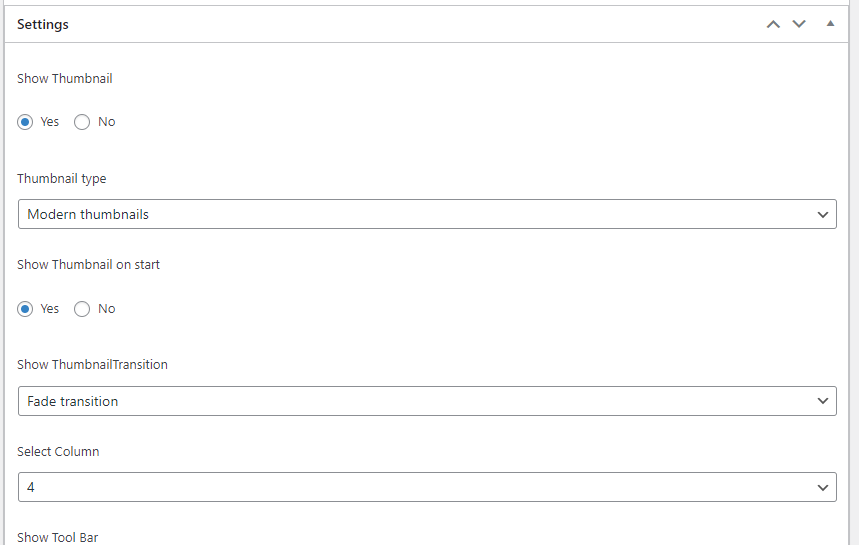
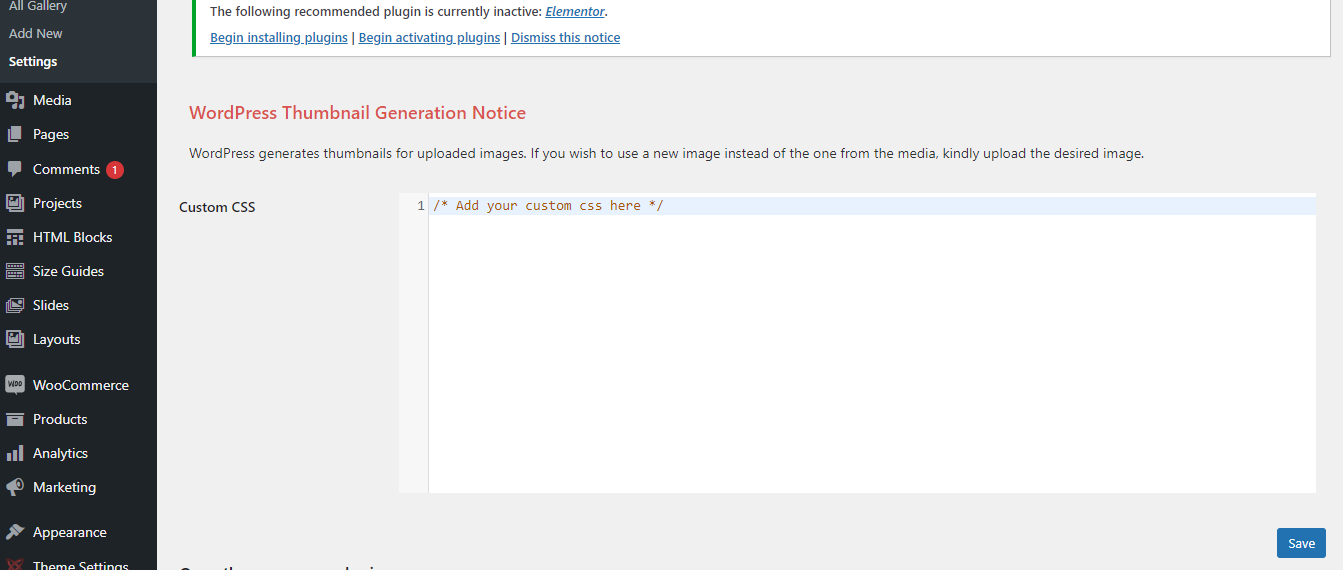
Settings:
On the settings page, you can add your custom CSS:
Save Changes:
After configuring the custom css method, don’t forget to click the “Save” button to apply your settings