1. Log in to WordPress Admin:
Open your web browser and navigate to your WordPress admin dashboard. Typically, you can access it by adding “/wp-admin” to your domain name (e.g., `http://yourdomain.com/wp-admin`).
2. Navigate to the Plugins Section:
Once you’re logged in, you’ll be in the WordPress admin dashboard. Look for the “Plugins” option in the left-hand menu. Hover over it, and a submenu will appear.
3. Click on “Add New”:
In the submenu under “Plugins,” click on the “Add New” option. This will take you to the “Add Plugins” page.
4. Upload the Plugin:
On the “Add Plugins” page, you’ll see a few tabs at the top. Click on the “Upload Plugin” tab.
5. Choose the Plugin ZIP File:
You should see a button labeled “Choose File” or “Browse.” Click this button to open a file browser dialog. Navigate to the location on your computer where you have the “wbpo-offers” plugin ZIP file. Select the ZIP file and click “Open.”
6. Install the Plugin:
After selecting the plugin ZIP file, click the “Install Now” button. WordPress will start uploading and installing the plugin.
7. Activate the Plugin:
Once the plugin is installed, you’ll see a success message. You can now click the “Activate Plugin” button to activate the plugin on your website.
That’s it! You’ve successfully uploaded and activated the “WooCommerce Bank & Special Offers” plugin on your WordPress website using the admin dashboard. Remember to keep your plugins updated and ensure they are compatible with your WordPress version to maintain a secure and functional website.
- How to configure Plugin
That concludes the setup process.
To configure the WooCommerce Bank & Special Offers plugin, follow these steps:
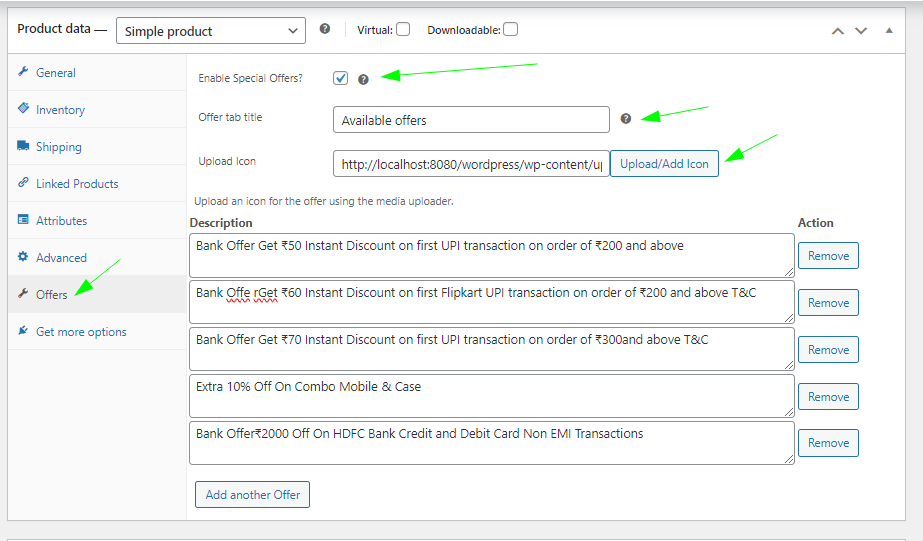
- Per Product Settings:
– Go to Products -> Edit Product, then navigate to the Offers tab.
– Here, you can manage settings for each product individually:
– Enable or disable offers for the product.
– Add custom labels and icons.
– Add as many offers as you want.
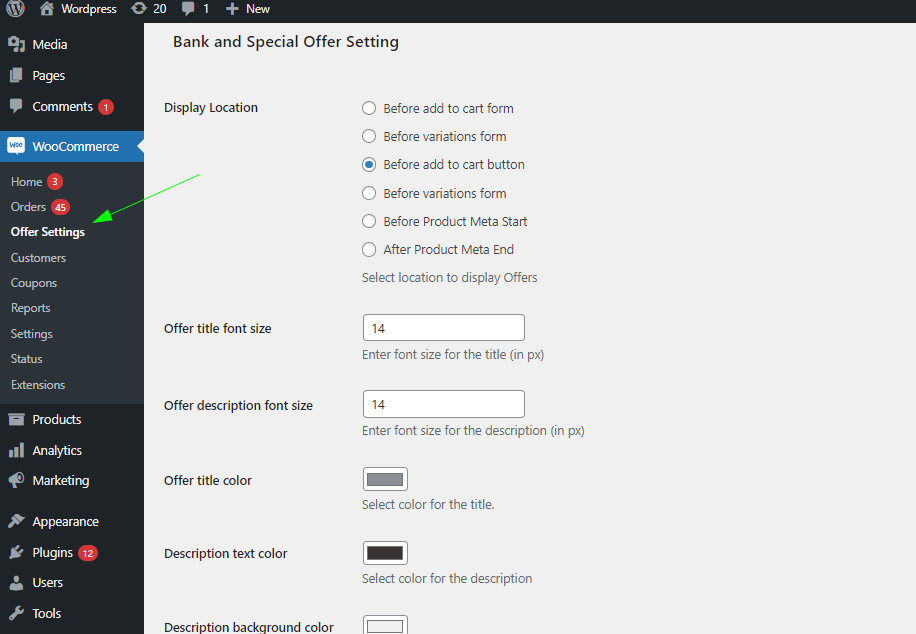
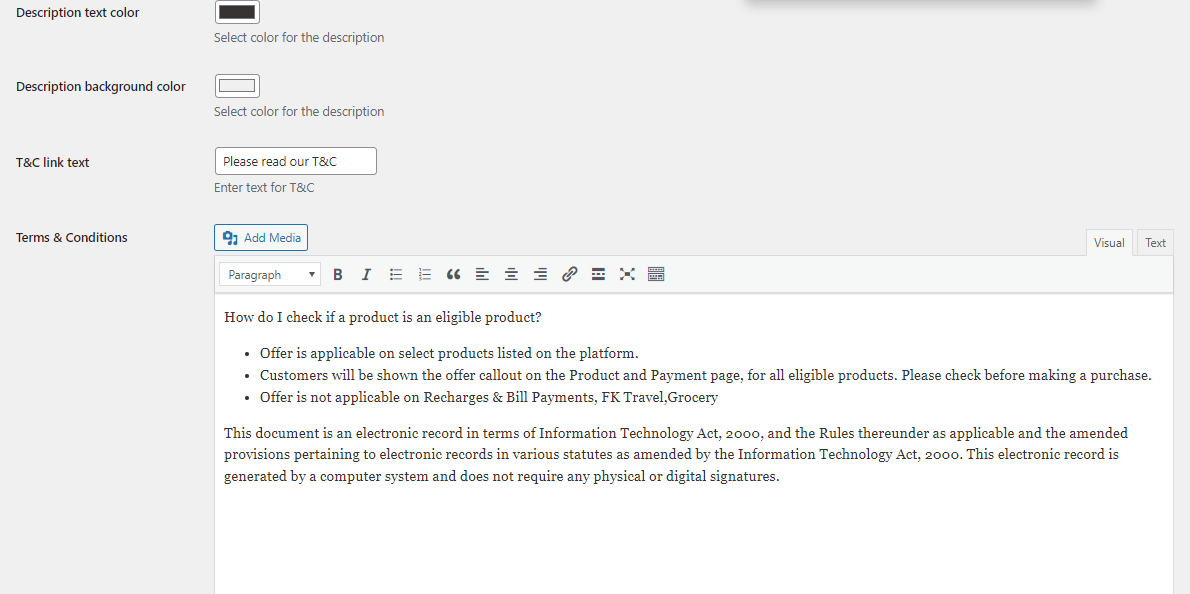
- Global Settings:
– For global font and other settings, go to WooCommerce -> Offer Settings.
– Here, you will find all the required configuration options.
Once you’ve made your changes, remember to save them.
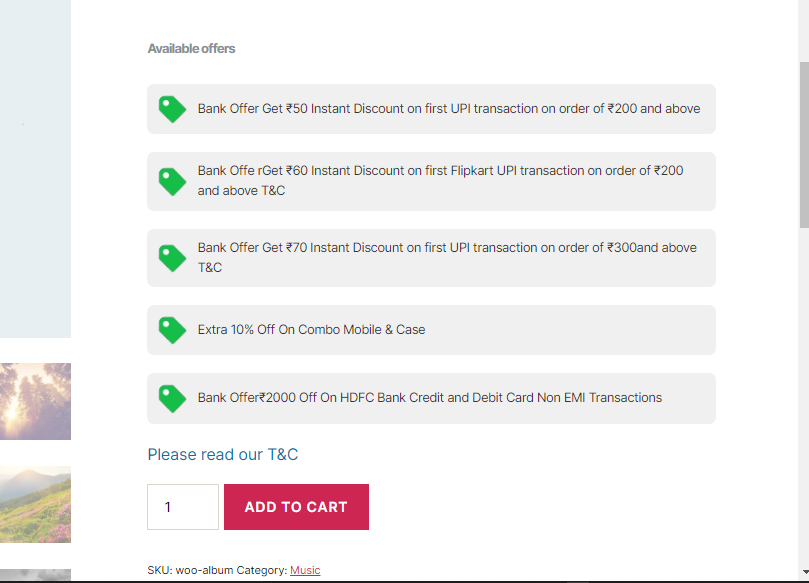
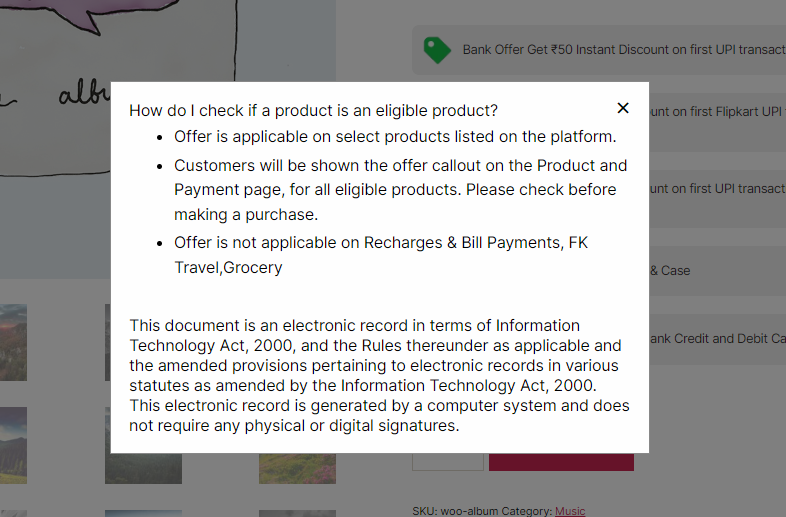
That’s it! Please refer to the attached screenshots for better understanding.