Open your web browser and navigate to your WordPress admin dashboard. Typically, you can access it by adding “/wp-admin” to your domain name (e.g., `http://yourdomain.com/wp-admin`).
Navigate to the Plugins Section:
Once you’re logged in, you’ll be in the WordPress admin dashboard. Look for the “Plugins” option in the left-hand menu. Hover over it, and a submenu will appear.
Click on “Add New”:
In the submenu under “Plugins,” click on the “Add New” option. This will take you to the “Add Plugins” page.
Upload the Plugin:
On the “Add Plugins” page, you’ll see a few tabs at the top. Click on the “Upload Plugin” tab.
Choose the Plugin ZIP File:
You should see a button labeled “Choose File” or “Browse.” Click this button to open a file browser dialog. Navigate to the location on your computer where you have the “wcbs-birthday” plugin ZIP file. Select the ZIP file and click “Open.”
Install the Plugin:
After selecting the plugin ZIP file, click the “Install Now” button. WordPress will start uploading and installing the plugin.
Activate the Plugin:
Once the plugin is installed, you’ll see a success message. You can now click the “Activate Plugin” button to activate the plugin on your website.
That’s it! You’ve successfully uploaded and activated the “WooCommerce Birthday Specials” plugin on your WordPress website using the admin dashboard. Remember to keep your plugins updated and ensure they are compatible with your WordPress version to maintain a secure and functional website.
2. How to configure Plugin
Log in to WordPress Admin:
Start by logging in to your WordPress admin dashboard.
Navigate to WooCommerce:
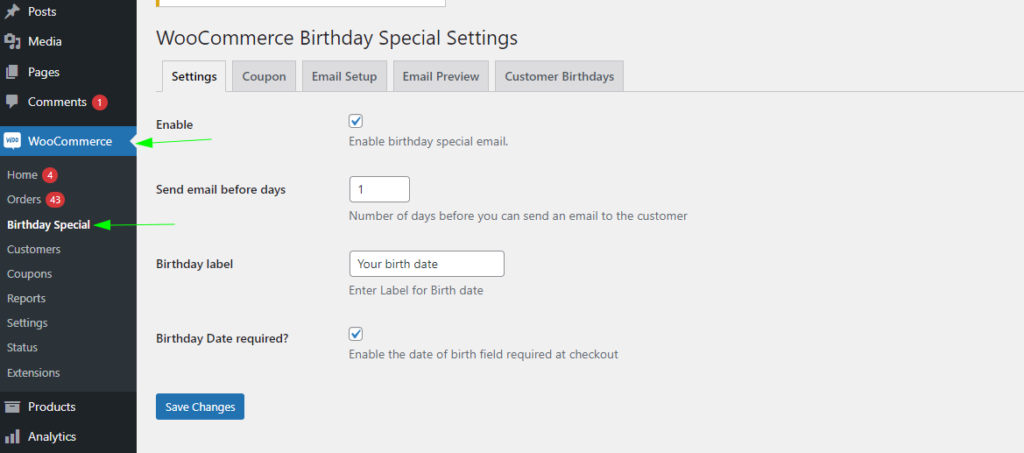
In the left-hand menu, locate and click on “WooCommerce -> Birthday Special.” This will take you to the settings page.
Enable/Disable Birthday Email:
Settings:
– Enable: Activate birthday special email.
– Send email before days: Number of days before the customer’s birthday to send an email.
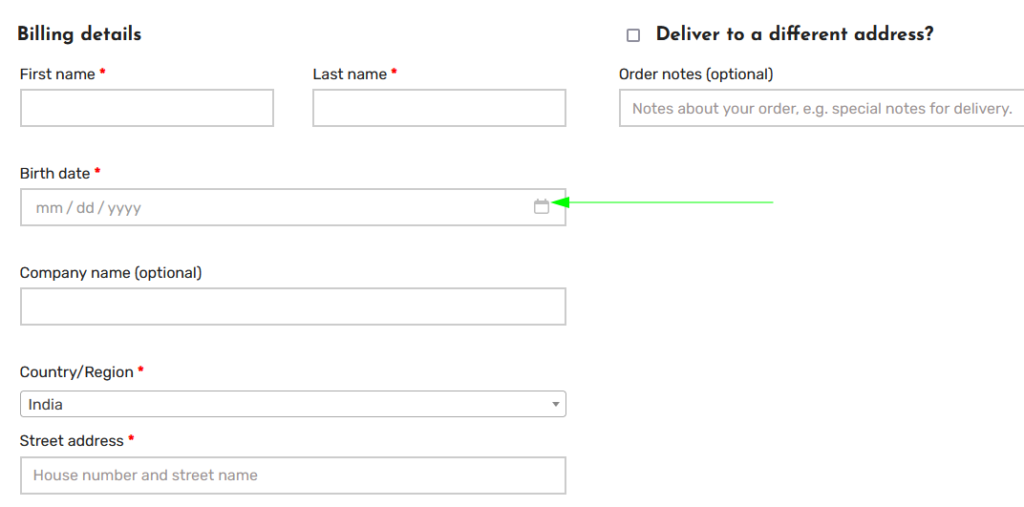
– Birthday label: Specify the label for the birth date field.
– Birthday Date required? Choose whether the date of birth field is mandatory at checkout.
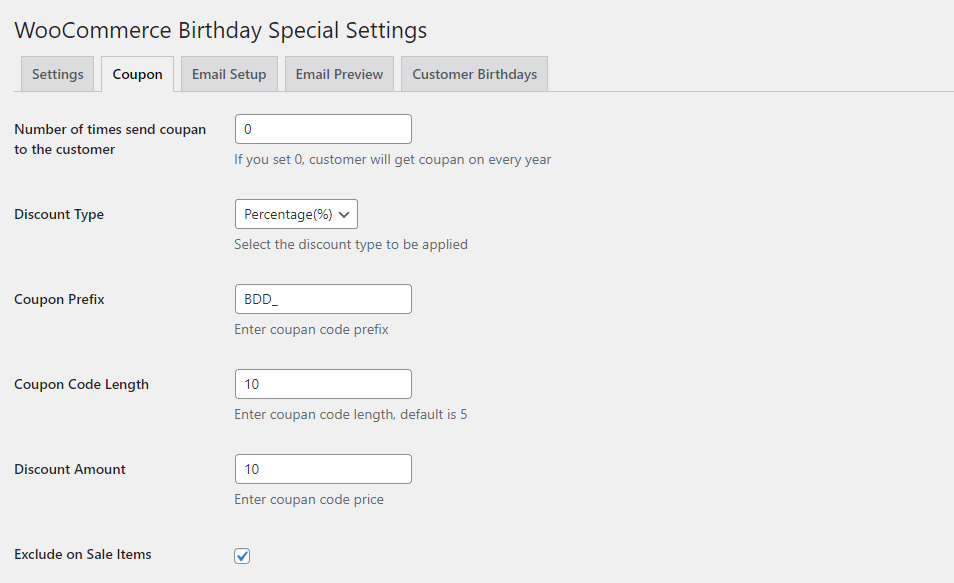
Coupon:
– Manage settings related to coupons.
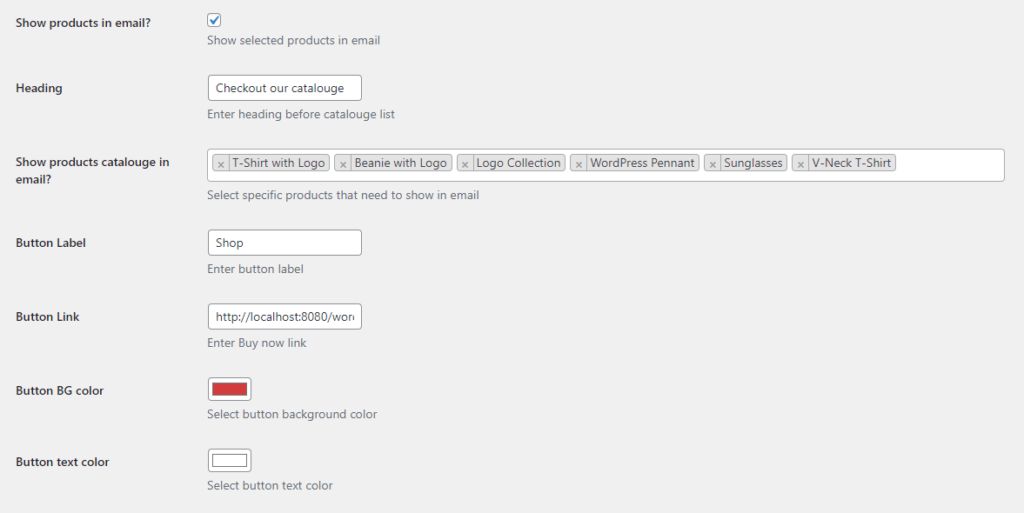
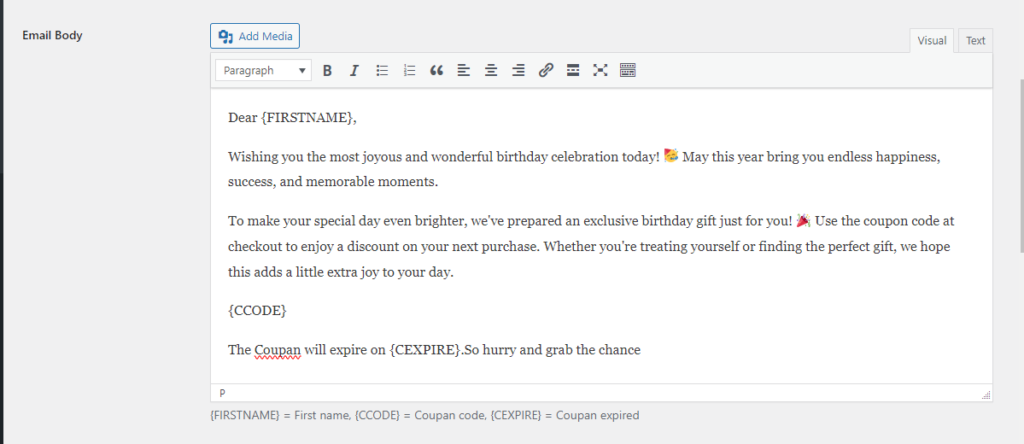
Email setup:
– Manage email settings for birthday customers.
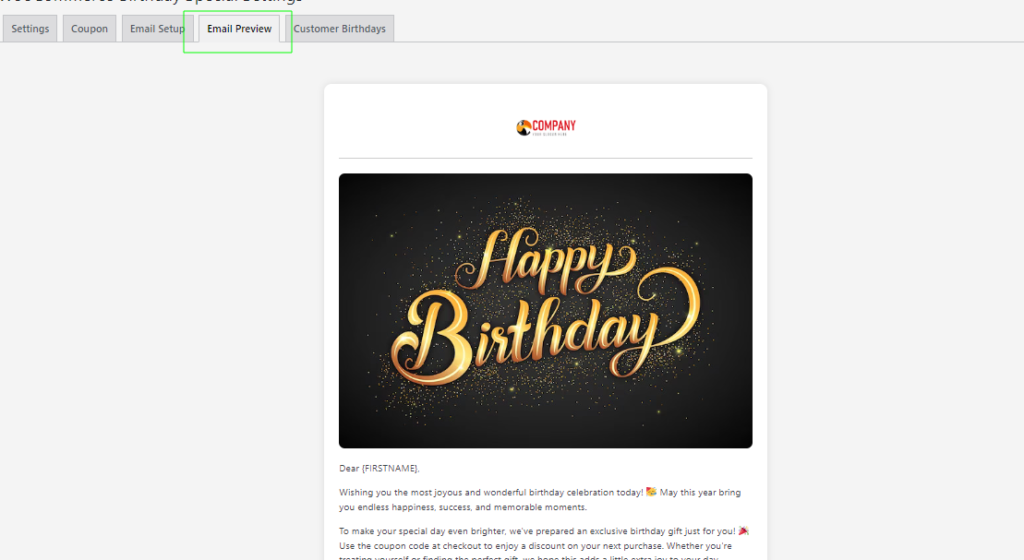
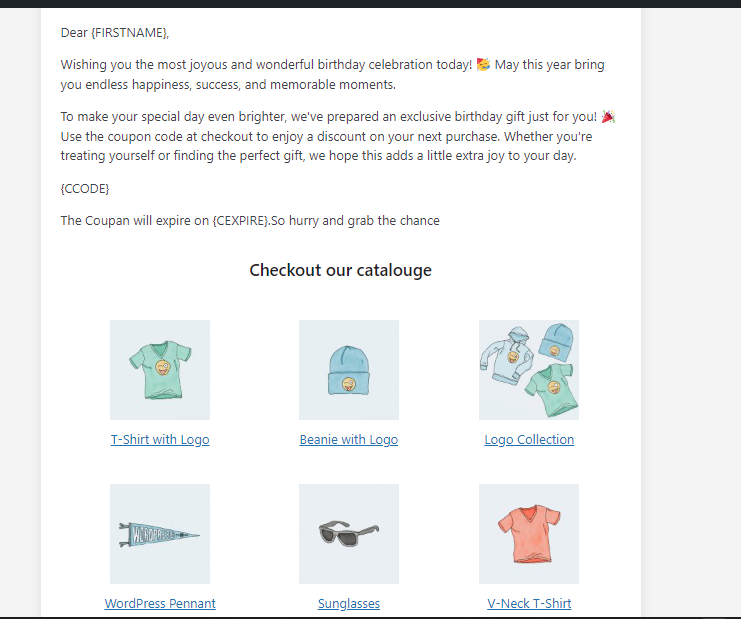
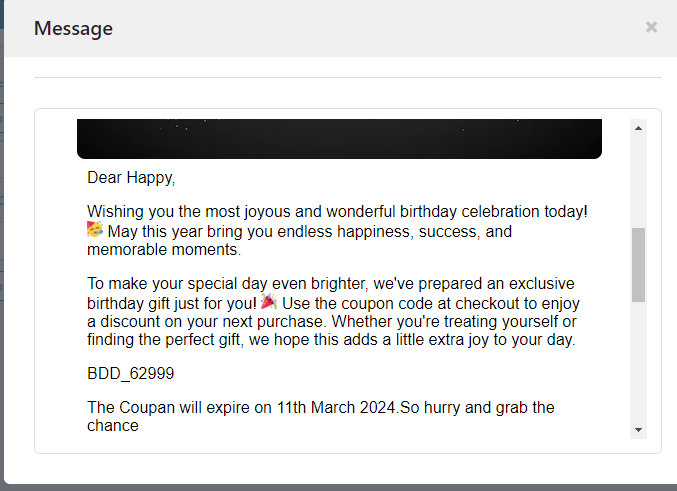
Email preview:
– Preview how the email will appear to customers.
Customer birthdays:
– View a list of customers with upcoming birthdays and see which coupons have been sent.
Save Changes:
After configuring, don’t forget to click the “Save Changes” button to apply your settings.
By following these steps, you can successfully set up and configure birthday emails. Please check screenshots.
Wait! Don't Leave Yet!
Get 10% off your order with this exclusive coupon code!